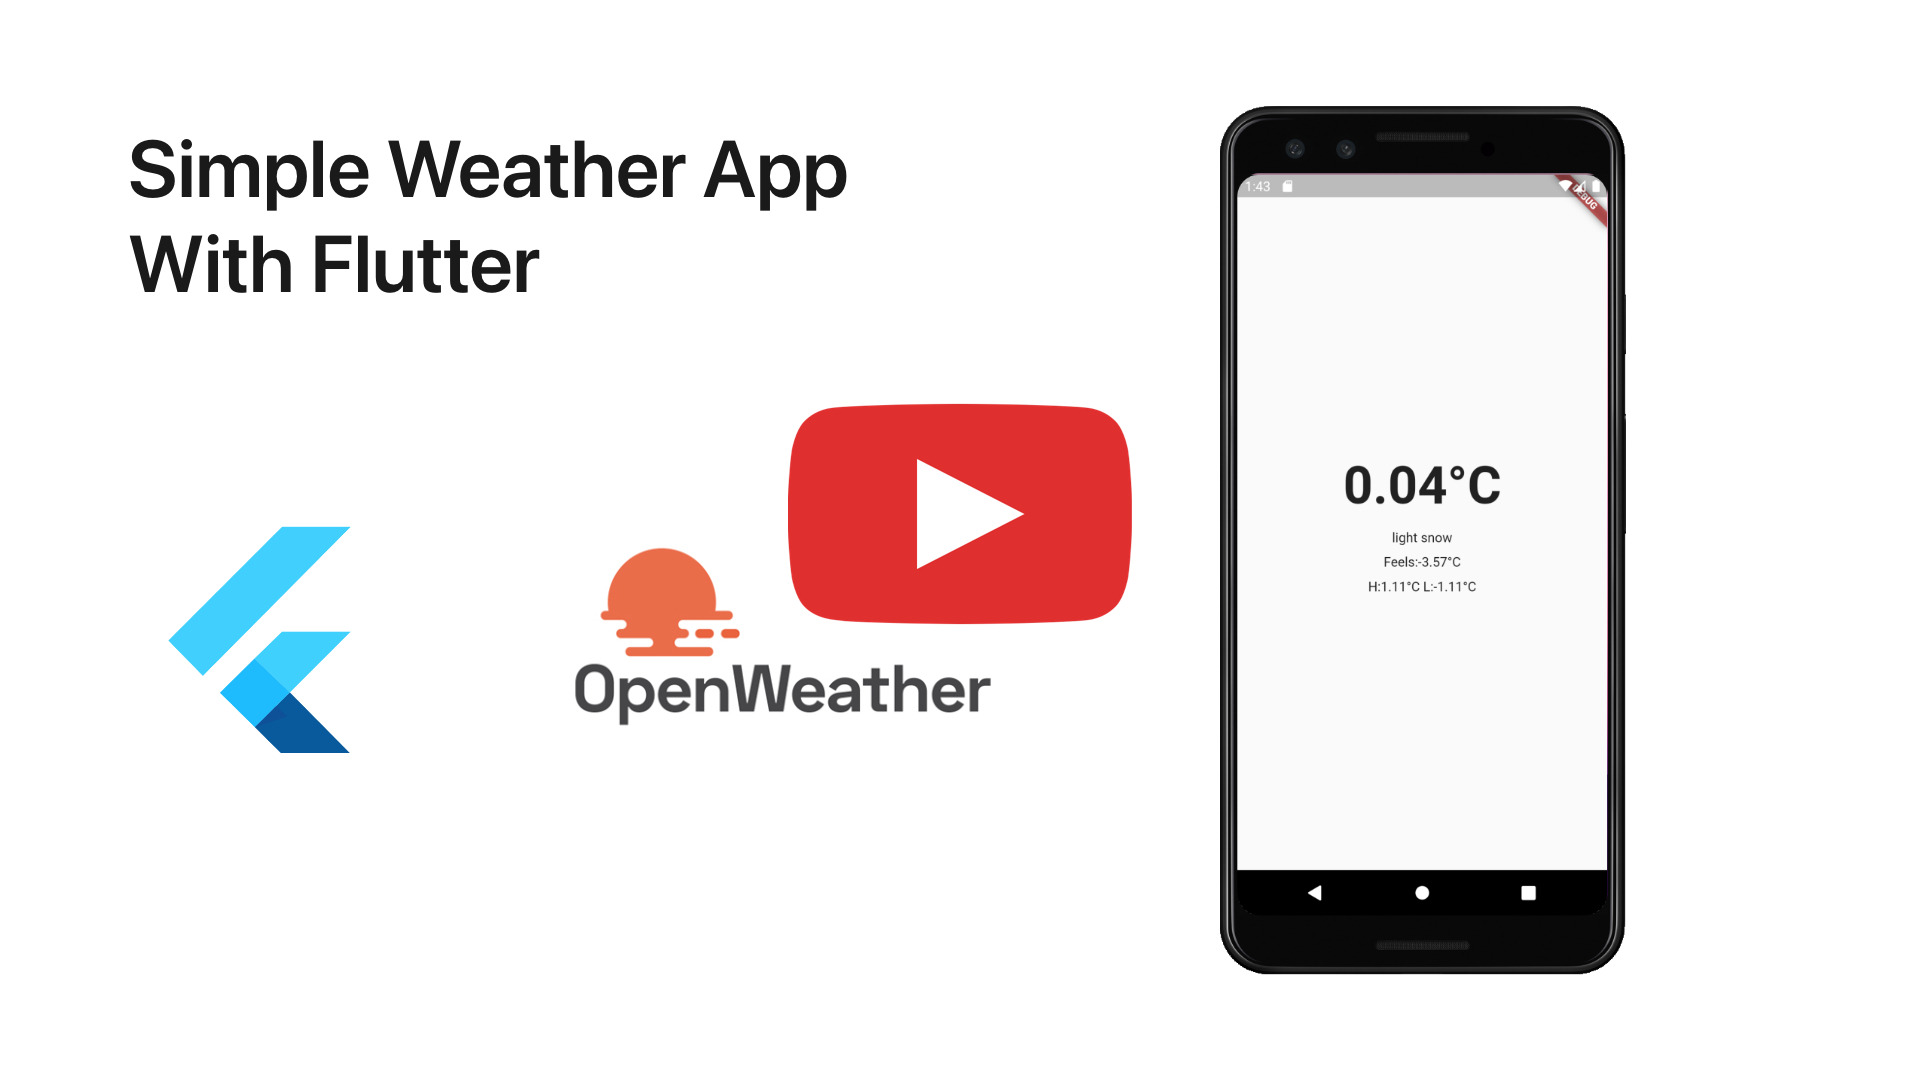
Flutter Weather App
Flutter is an open-source project created by Google which allows developers to create cross-platform applications from one codebase. (Specifically Android, iOS, Linux, Mac, Windows, Google Fuchsia, and the web) A problem that has plagued developers for years. Today I’m going to walk you through creating a simple Flutter app. This app will act as a weather client. It will call a REST API and display the returned data on the device.
Video
Environment Setup
First, we will have to ensure you have your Flutter environment set up. You can learn how to set yours up here.
Personally, here is my configuration:
Get Your API Key
I will be using OpenWeather for this App. You can grab a free API Key for yourself here.
The API documentation that we will be referring to is listed here.
Create a Flutter Project
Bring up the Command Palette in Visual Studio Code ⌘⇧P and type Flutter New Application Project and press enter.
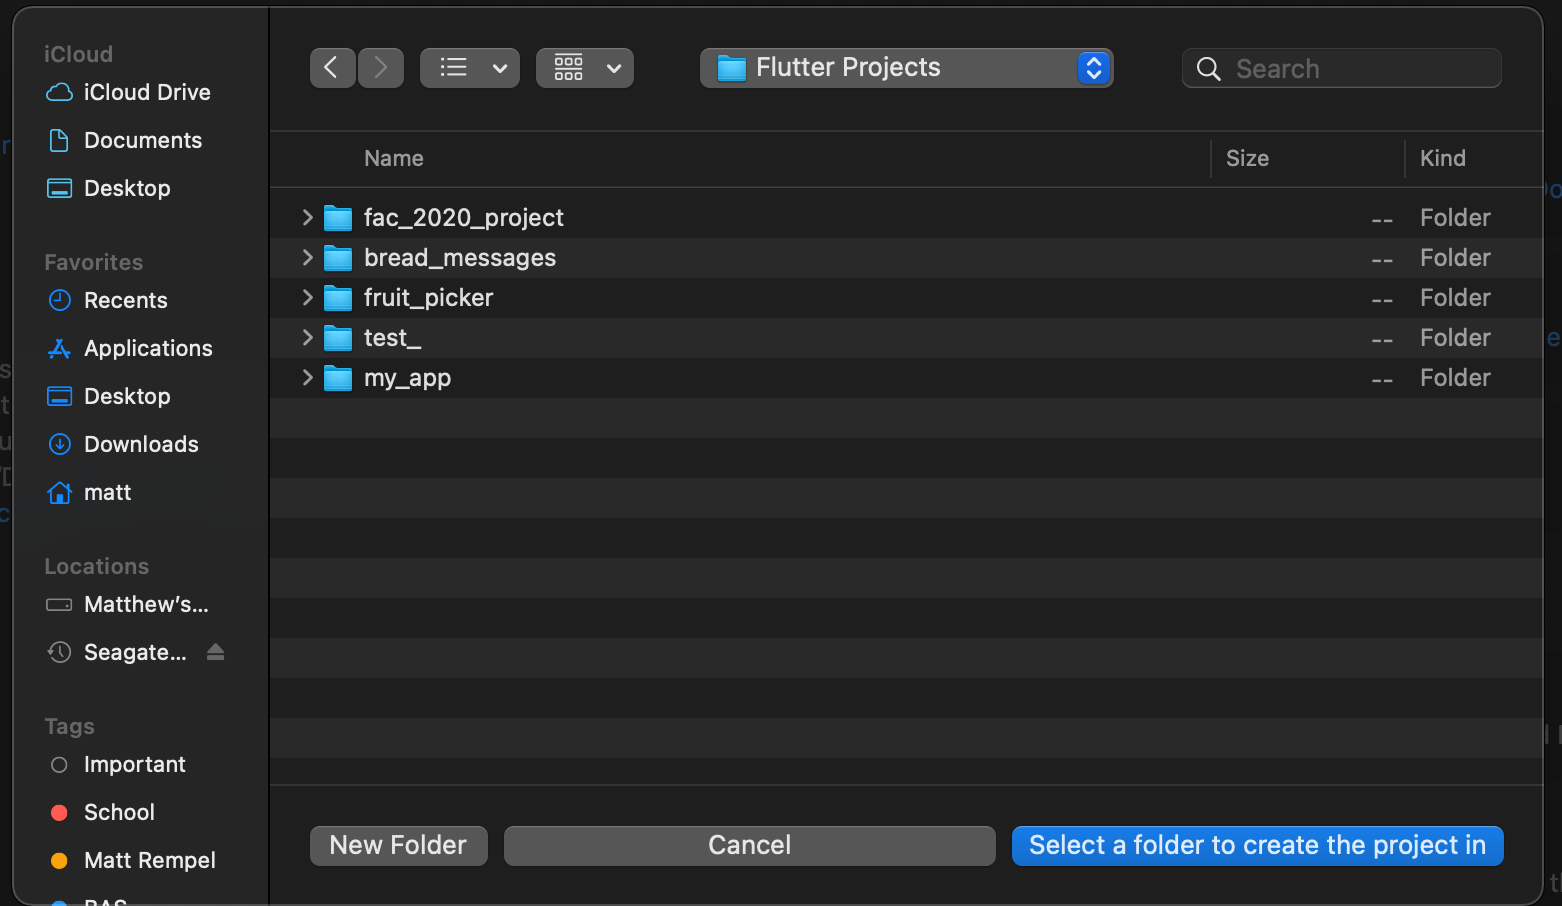
Enter a new for the project and press enter.

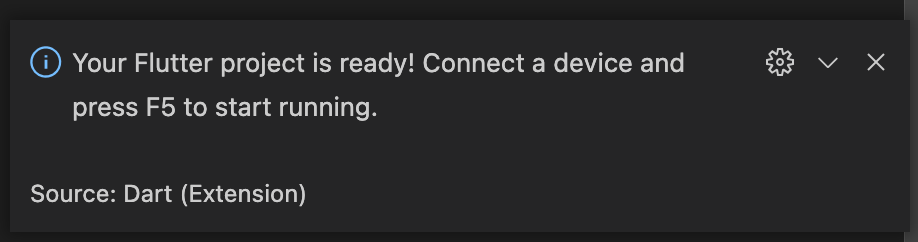
Visual Studio Code will now build your Flutter project, when it is done you should see the following pop up
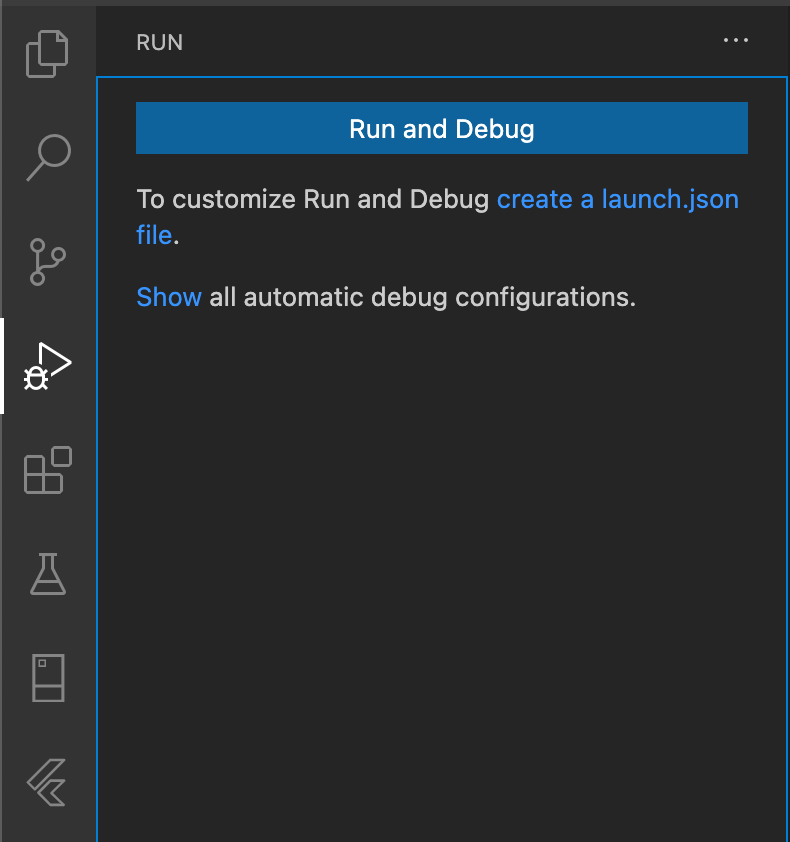
Navigate to the Run menu and click the Run and Debug button
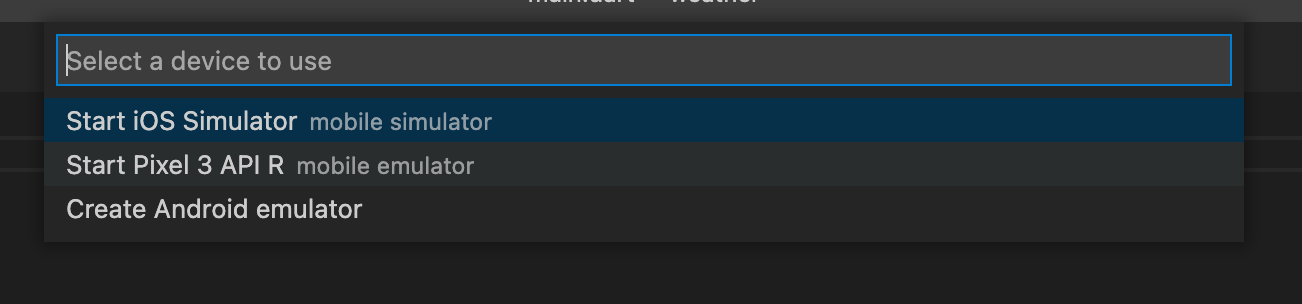
You will now have to select a run destination, if you have not set up either an iOS Simulator or Android Simulator you will have to do so
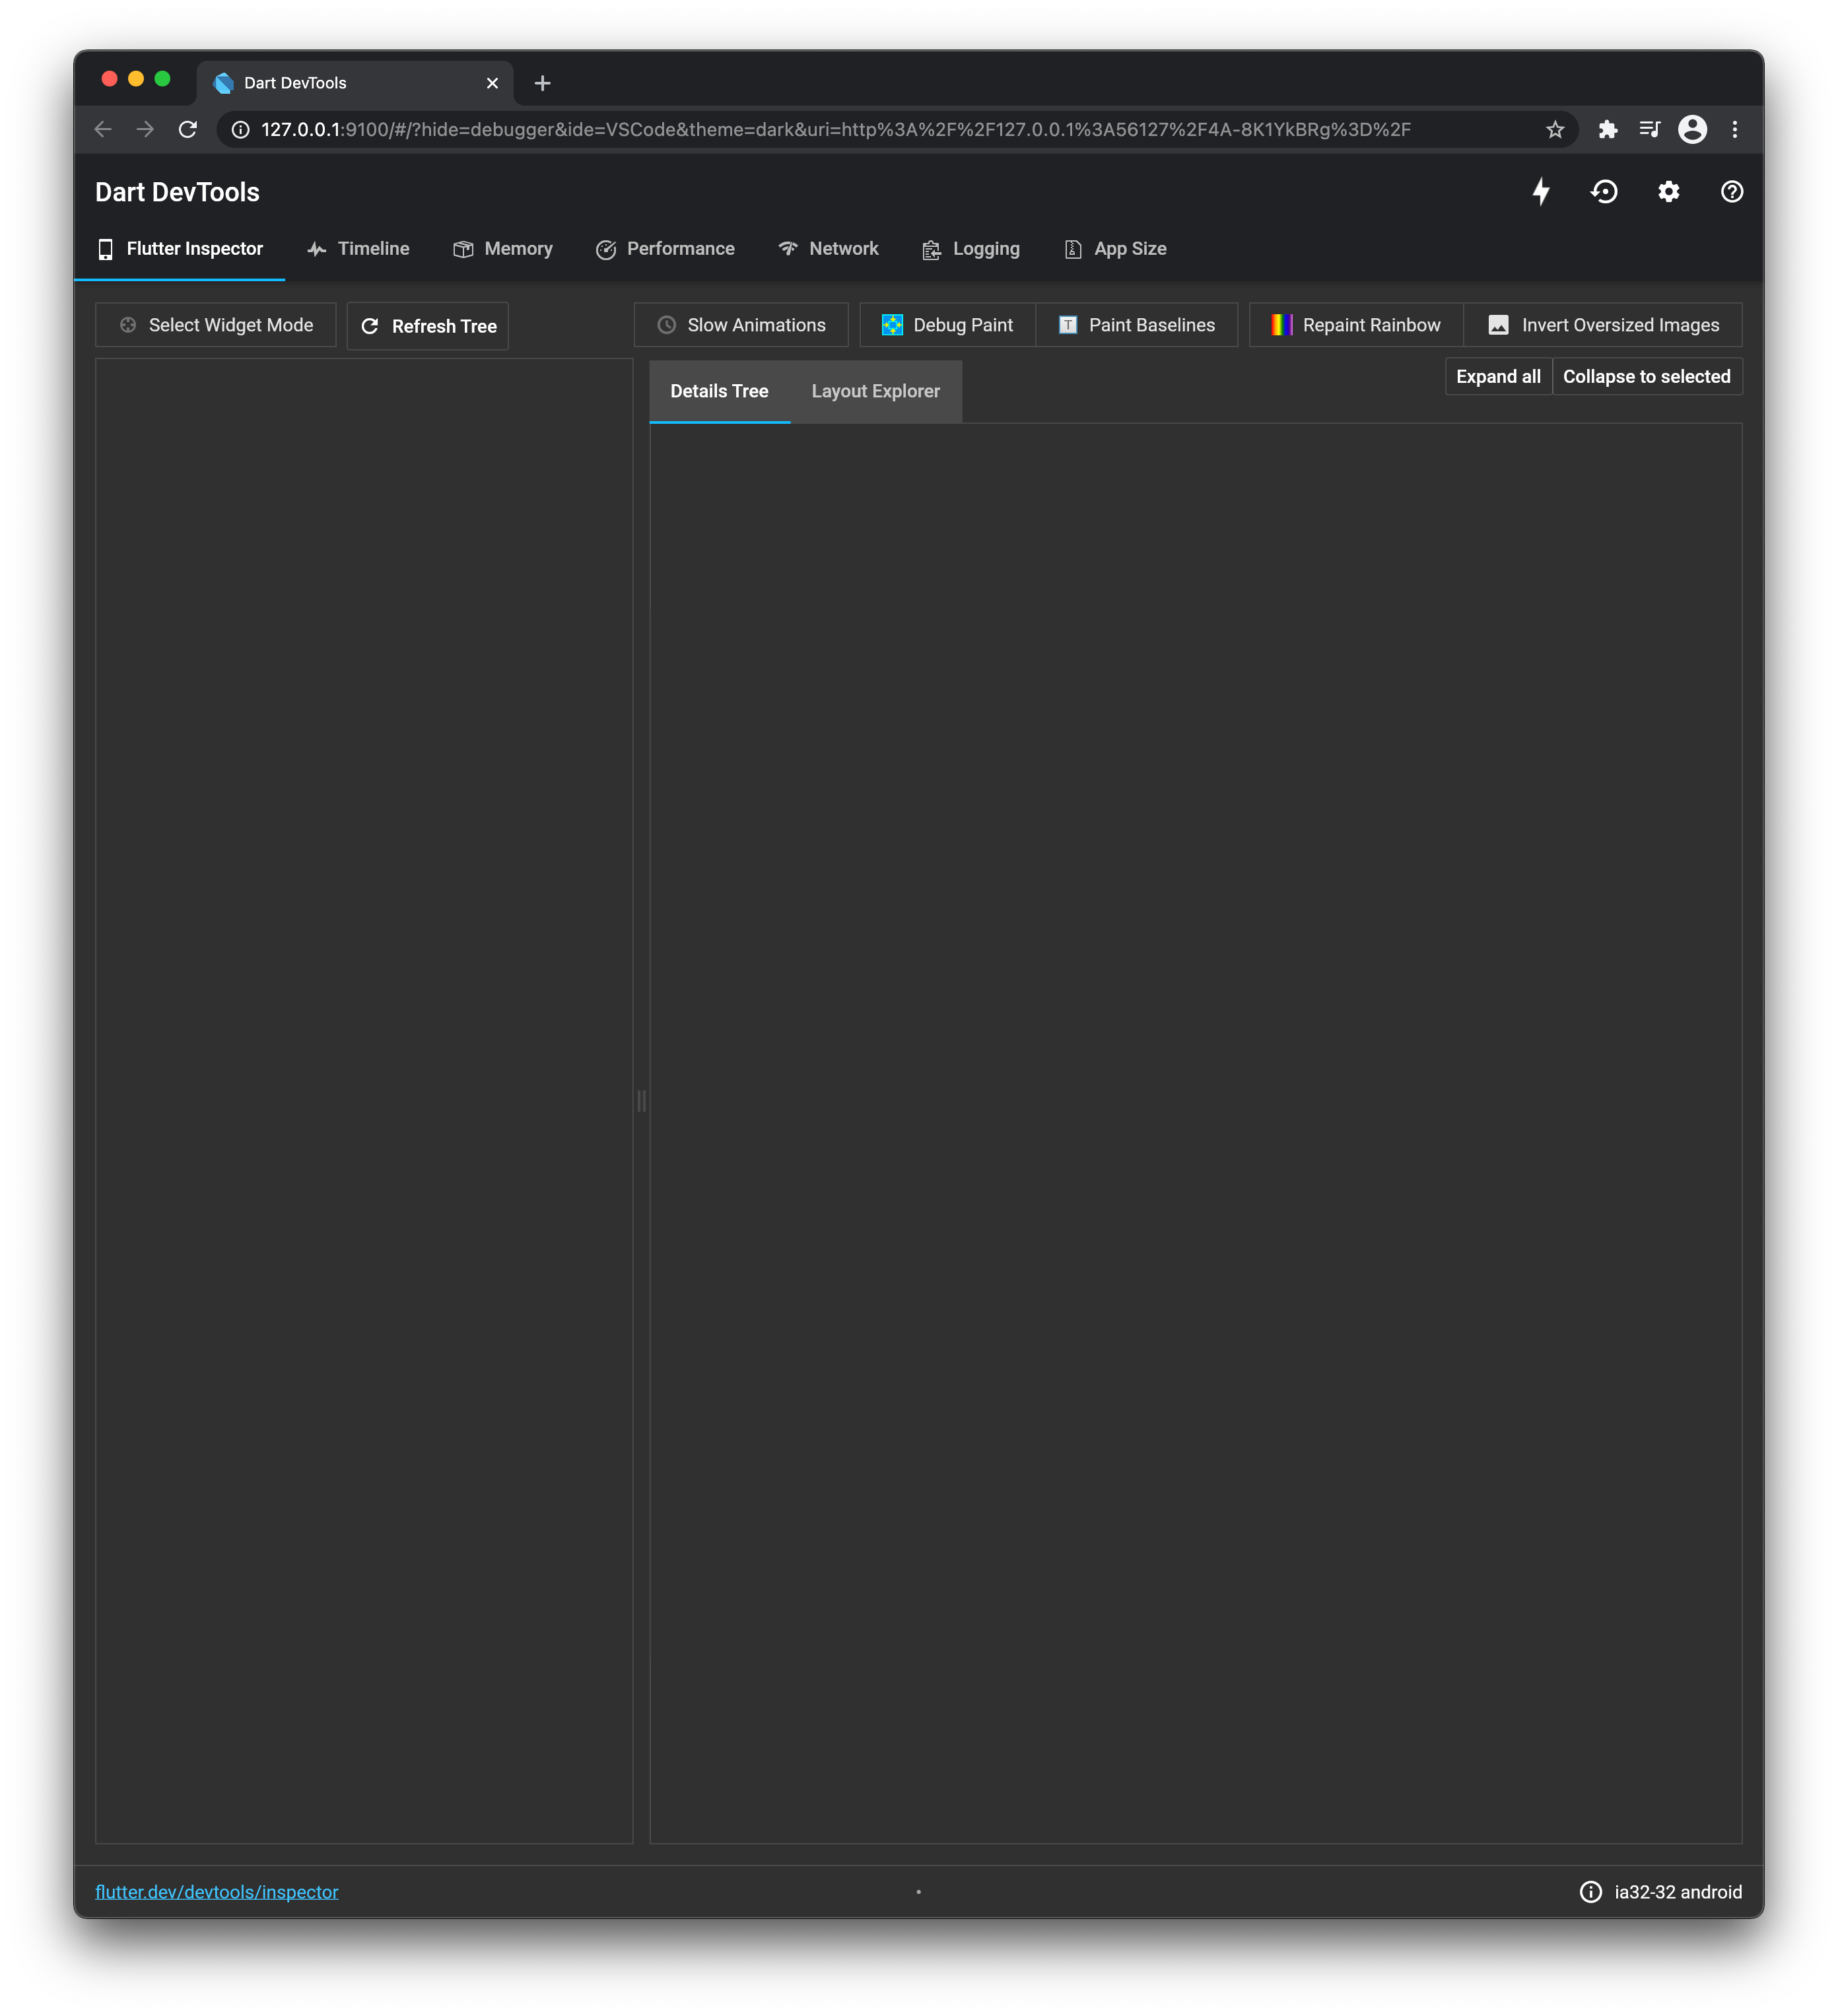
Debug tools will open in your web browser
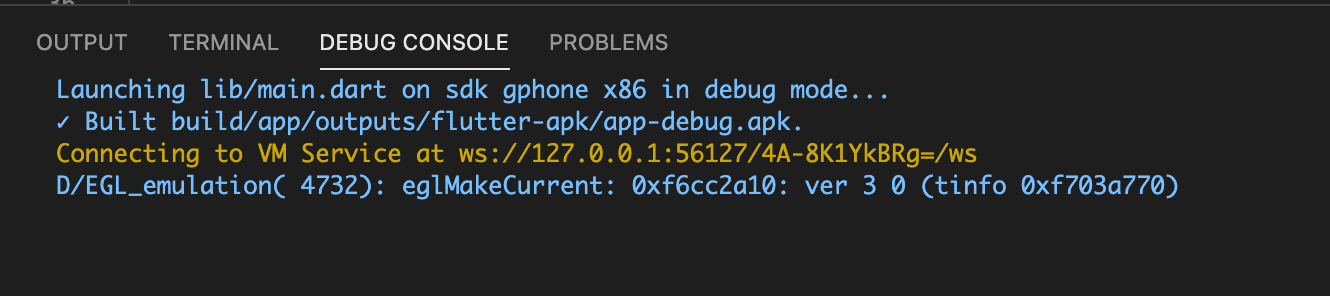
Once the app launches you should see the following message in the Debug Console
You will now see the demo Flutter App
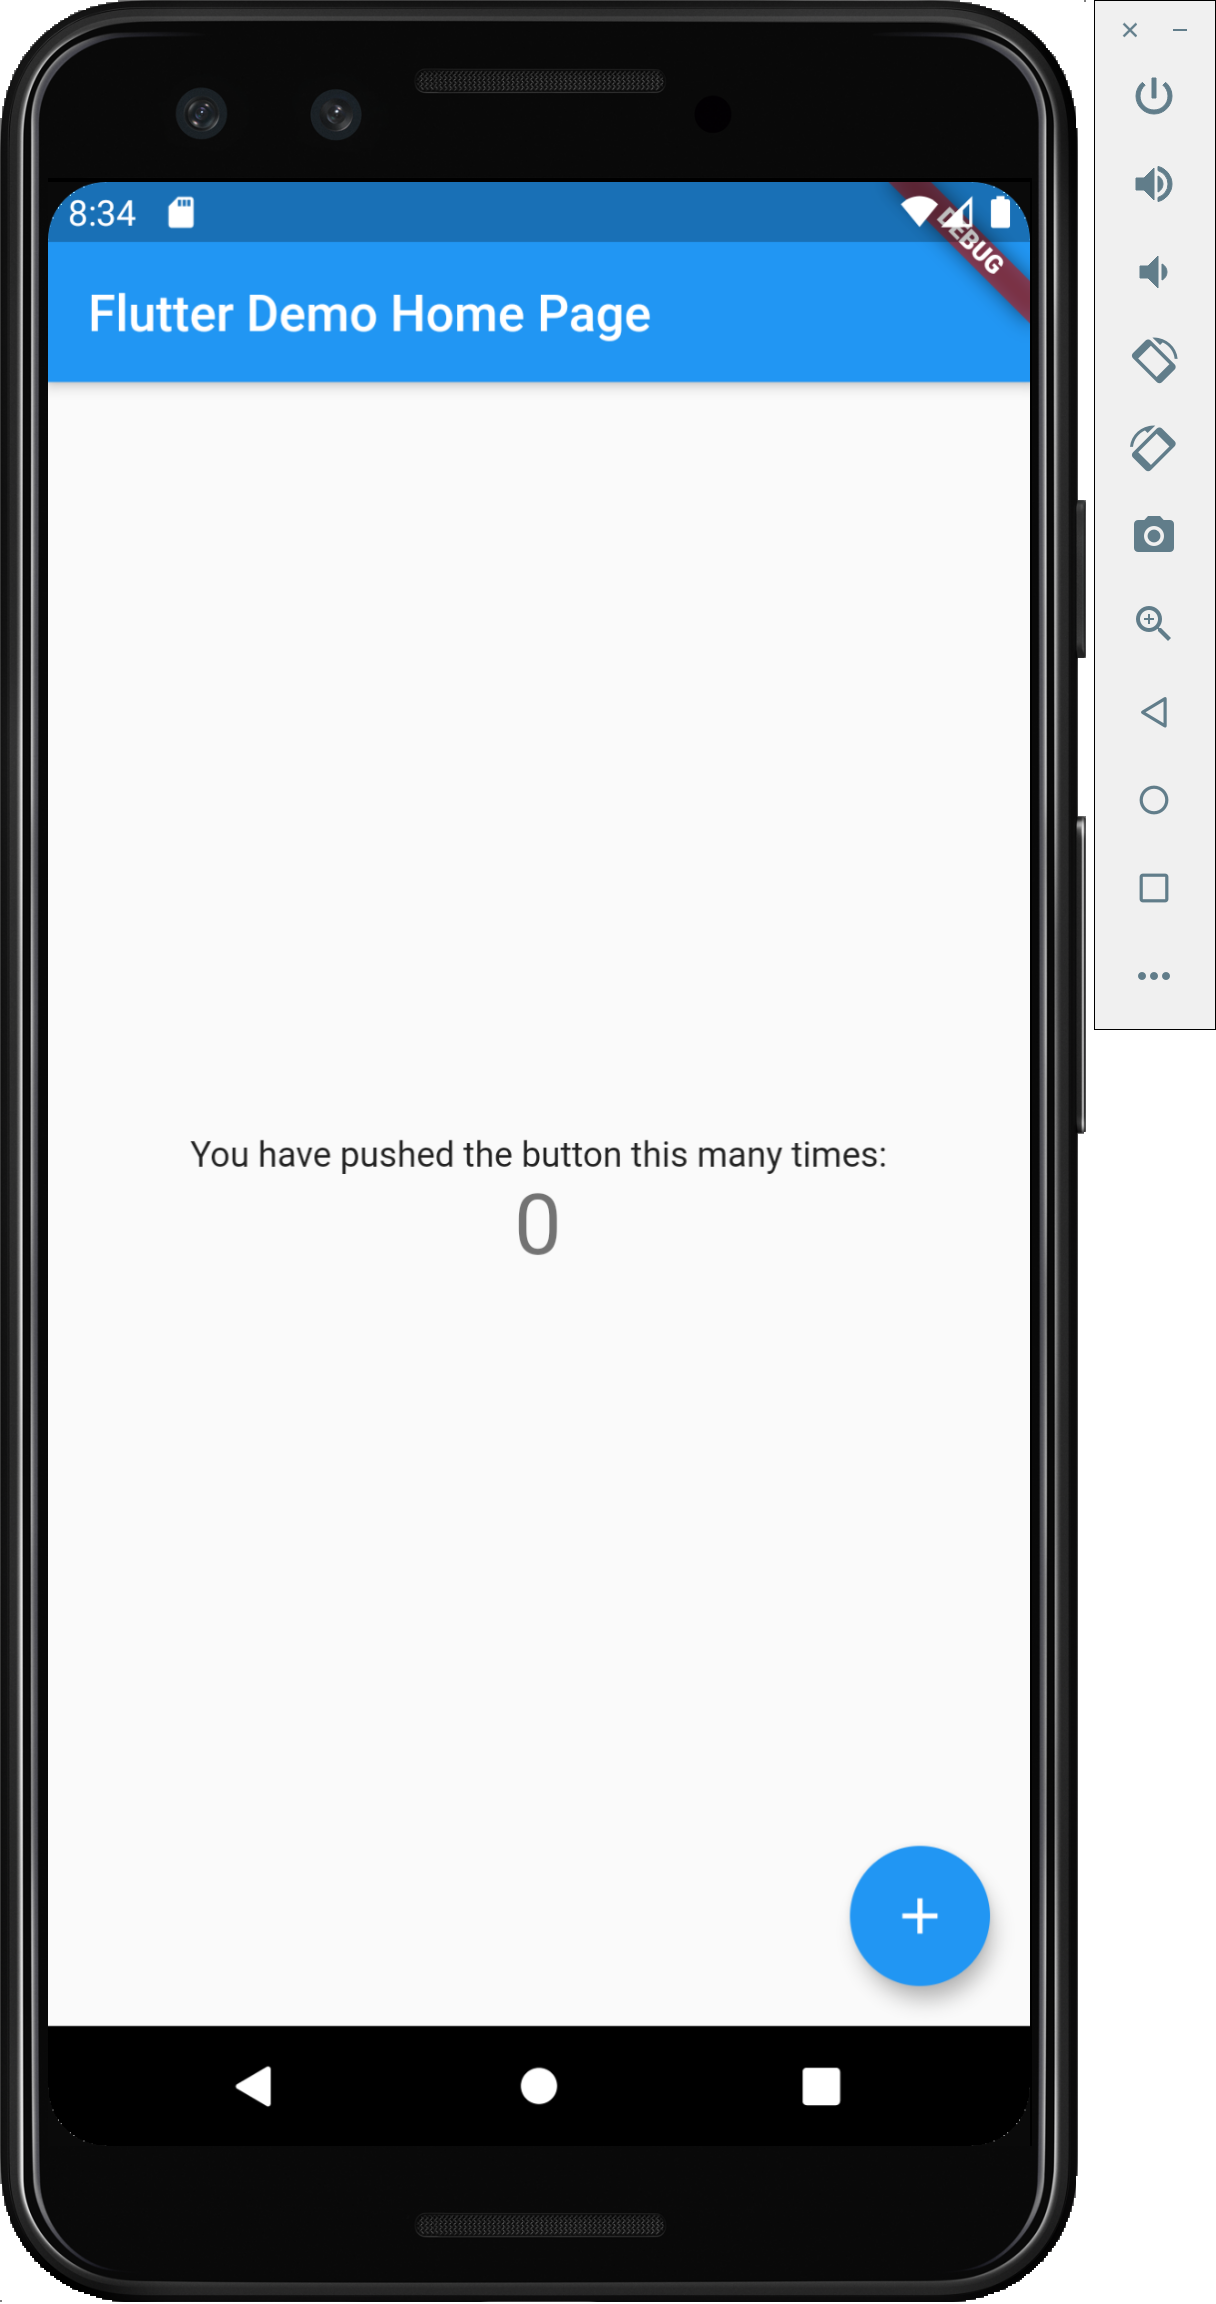
Clicking the button on-screen will increase the counter

Congrats! You just built your first Flutter App! Now, let’s move onto the fun stuff!
Making Our ‘Home Page’
Open up lib/main.dart. This is file controls the first screen that is displayed to the user. We are going to create our UI so you can remove the whole MyHomePage class which starts on line 34. We can remove some comments from the MyApp class as well just to clean it up a bit. Your main.dart file should look like this:
main.dart
import 'package:flutter/material.dart';

void main() {
  runApp(MyApp());
}

class MyApp extends StatelessWidget {

  @override
  Widget build(BuildContext context) {
    return MaterialApp(
      title: 'Flutter Demo',
      theme: ThemeData(
        primarySwatch: Colors.blue,
        visualDensity: VisualDensity.adaptivePlatformDensity,
      ),
      home: MyHomePage(title: 'Flutter Demo Home Page'),
    );
  }
}
Let’s create a new Dart file. To do so, navigate to File > New File. Name the file currentWeather.dart and save it to the same directory as main.dart. Insert the following code into the file.
currentWeather.dart
import 'package:flutter/material.dart';

class CurrentWeatherPage extends StatefulWidget {

  @override
  _CurrentWeatherPageState createState() => _CurrentWeatherPageState();
}

class _CurrentWeatherPageState extends State<CurrentWeatherPage> {
  @override
  Widget build(BuildContext context) {
    return Scaffold(
      body: Center(
        child: Text("My Weather App!")
      ),
    );
  }
}
Let’s walk through this code and understand a little bit more about what is going on here.
First, you will see that our CurrentWeatherPageState extends the StatefulWidget class. This allows our CurrentWeatherPageState to adapt to change and update the interface with the changes.
createState() is then called which will create the mutable state for the _CurrentWeatherPageState() widget.
We then define _CurrentWeatherPageState() which contains the build() method. (The cool and fun method). The build() method will return a tree of widgets. Right now there is a Scaffold widget which contains a Center widget which contains a Text widget. This is what each of them does:
Scaffold: Contains fields to create sections for widgets (e.x. App bar, Body, Floating Buttons, drawers or side menus, etc. )Center: Will center the widgets within the widgetText: Will display the text passed to the widget
To see more widgets available you can go here.
Flutter UI (Widgets on Widgets)
Flutter widgets are built using a modern framework that takes inspiration from React. The central idea is that you build your UI out of widgets. Widgets describe what their view should look like given their current configuration and state. When a widget’s state changes, the widget rebuilds its description, which the framework diffs against the previous description to determine the minimal changes needed in the underlying render tree to transition from one state to the next. ~ Flutter Docs
As stated above Flutter is built on widgets. We only have 3 widgets within our build() method and our code is already looking a little messy. This is one of the challenges with Flutter. Complex interfaces will sometimes create very messy code. Flutter allows developers to create their own widgets however which can help with this problem. We will look more into this later on.
Weather Model
Let’s create a new file to store a Weather object. To do so, navigate to File > New File. Name the file weather.dart and save it to a new directory called models in the same directory as main.dart.
Insert the following code into the file.
class Weather {
  final double temp;
  final double feelsLike;
  final double low;
  final double high;
  final String description;

  Weather({this.temp, this.feelsLike, this.low, this.high, this.description});

  factory Weather.fromJson(Map<String, dynamic> json) {
    return Weather(
      temp: json['main']['temp'].toDouble(),
      feelsLike: json['main']['feels_like'].toDouble(),
      low: json['main']['temp_min'].toDouble(),
      high: json['main']['temp_max'].toDouble(),
      description: json['weather'][0]['description'],
    );
  }
}
If you are familiar with Java most of this code should look familiar. The only thing that might not make sense is the factory Weather.fromJson line. This line is a constructor that takes JSON as an input and builds a Weather object.
Simple Weather Box UI
Let’s build some widgets! Back in currentWeather.dart add the following method.
Widget weatherBox(Weather _weather) {

  return Column(
    children: <Widget>[
      Text("${_weather.temp}°C"),
      Text("${_weather.description}"),
      Text("Feels:${_weather.feelsLike}°C"),
      Text("H:${_weather.high}°C L:${_weather.low}°C"),
    ]

  );
}
This method takes a Weather object as input and builds a simple UI with 4 Text widgets within a column (A column stacks its children vertically). You can see this notation within the Text widget ${_weather.temp} this notation will allow you to insert variables within Strings. Here we reference 4 different attributes within the weather object each with its own Text widget.
Calling the REST API
Add the following method to the currentWeather.dart file.
Future getCurrentWeather() async {
  Weather weather;
  String city = "calgary";
  String apiKey = "YOUR API KEY";
  var url = "https://api.openweathermap.org/data/2.5/weather?q=$city&appid=$apiKey&units=metric";

  final response = await http.get(url);

  if (response.statusCode == 200) {
    weather = Weather.fromJson(jsonDecode(response.body));
  } else {
    // TODO: Throw error here
  }

  return weather;
}
Don’t forget to change YOUR API KEY with your API key.
If you have worked with REST APIs before this code should be very easy to understand. If you haven’t here is a quick rundown:
Upon running the code the app will make what’s called a GET request to the URL that we have specified. The OpenWeather server will recognize this and return the data that we want. Along with that, it will return a status code. If it is 200 then all is well and we got the info that we wanted. If it is not then something went wrong and we will have to show an error to the user.
Some important things to notice about this method
- The endpoint we are querying will get the current weather for the specified city.
- It is asynchronous, we ensure with by using the
asynckeyword in the method definition. - We will still have to implement what happens if a status code other than 200 is returned.
- We are missing the
httppackage so this code will error.
Adding the needed packages
Flutter uses the pubspec.yaml file to manage packages. To view all available packages you can go to https://pub.dev
We will need to add the following package to our pubspec.yaml file. Open up the file and add http: ^0.12.1 on line 26. This package allows us to make HTTP requests. Visual Studio will automatically call flutter pub get which will load all of the dependencies for the app. You should see the following pop-up.
If that doesn’t happen you will have to run that command manually.
Navigate back to currentWeather.dart and add the following imports.
import 'package:weather/models/weather.dart';
import 'package:http/http.dart' as http;
import 'dart:convert';
Changing the build method
Lets make some changes to our build() method.
@override
  Widget build(BuildContext context) {
    return Scaffold(
      body: Center(
          child: FutureBuilder(
            builder: (context, snapshot) {
              if (snapshot != null) {
                this._weather = snapshot.data;
                if (this._weather == null) {
                  return Text("Error getting weather");
                } else {
                  return  weatherBox(_weather);
                }
              } else {
                return CircularProgressIndicator();
              }
            },
          future: getCurrentWeather(),
        ),
      )
    );
  }
Here are the new widgets we added:
- FutureBuilder: This widget allows async methods to be called and for the UI to be updated when the async method is done. This is determined by the line
if (snapshot.data != null) {. - CircularProgressIndicator: A simple spinner to show the user something is loading
You may also notice the line: future: getCurrentWeather(), this line calls our async method to load our weather data.
Run the project and see what you get!
You should have something like this:
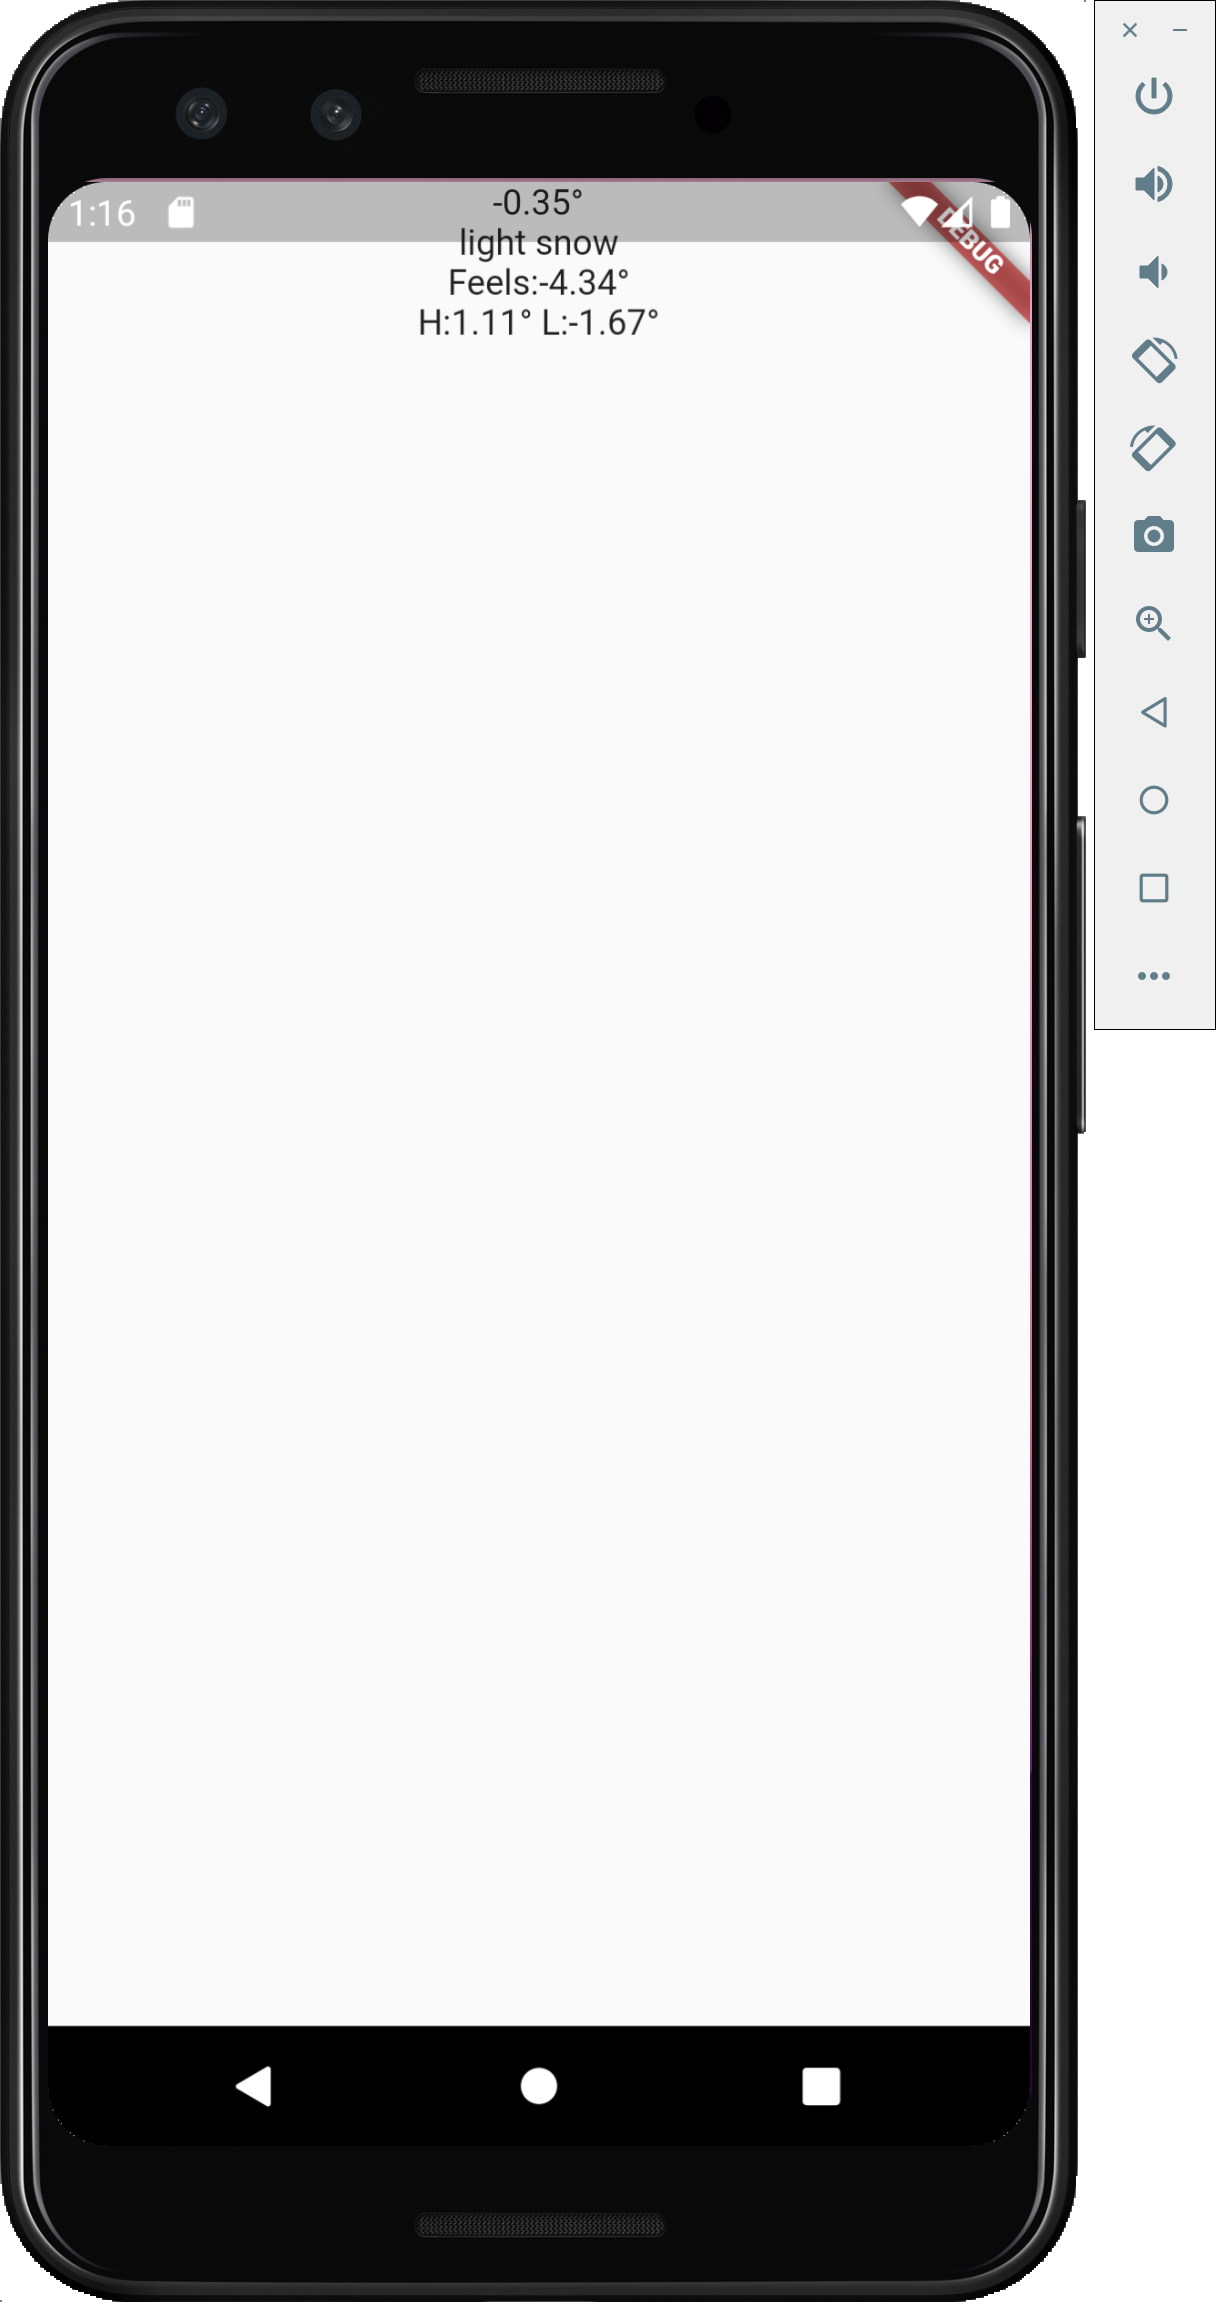
Congrats!! We got it working!
Let’s spend a little time making the UI a little bit nicer.
A better Weather Box UI
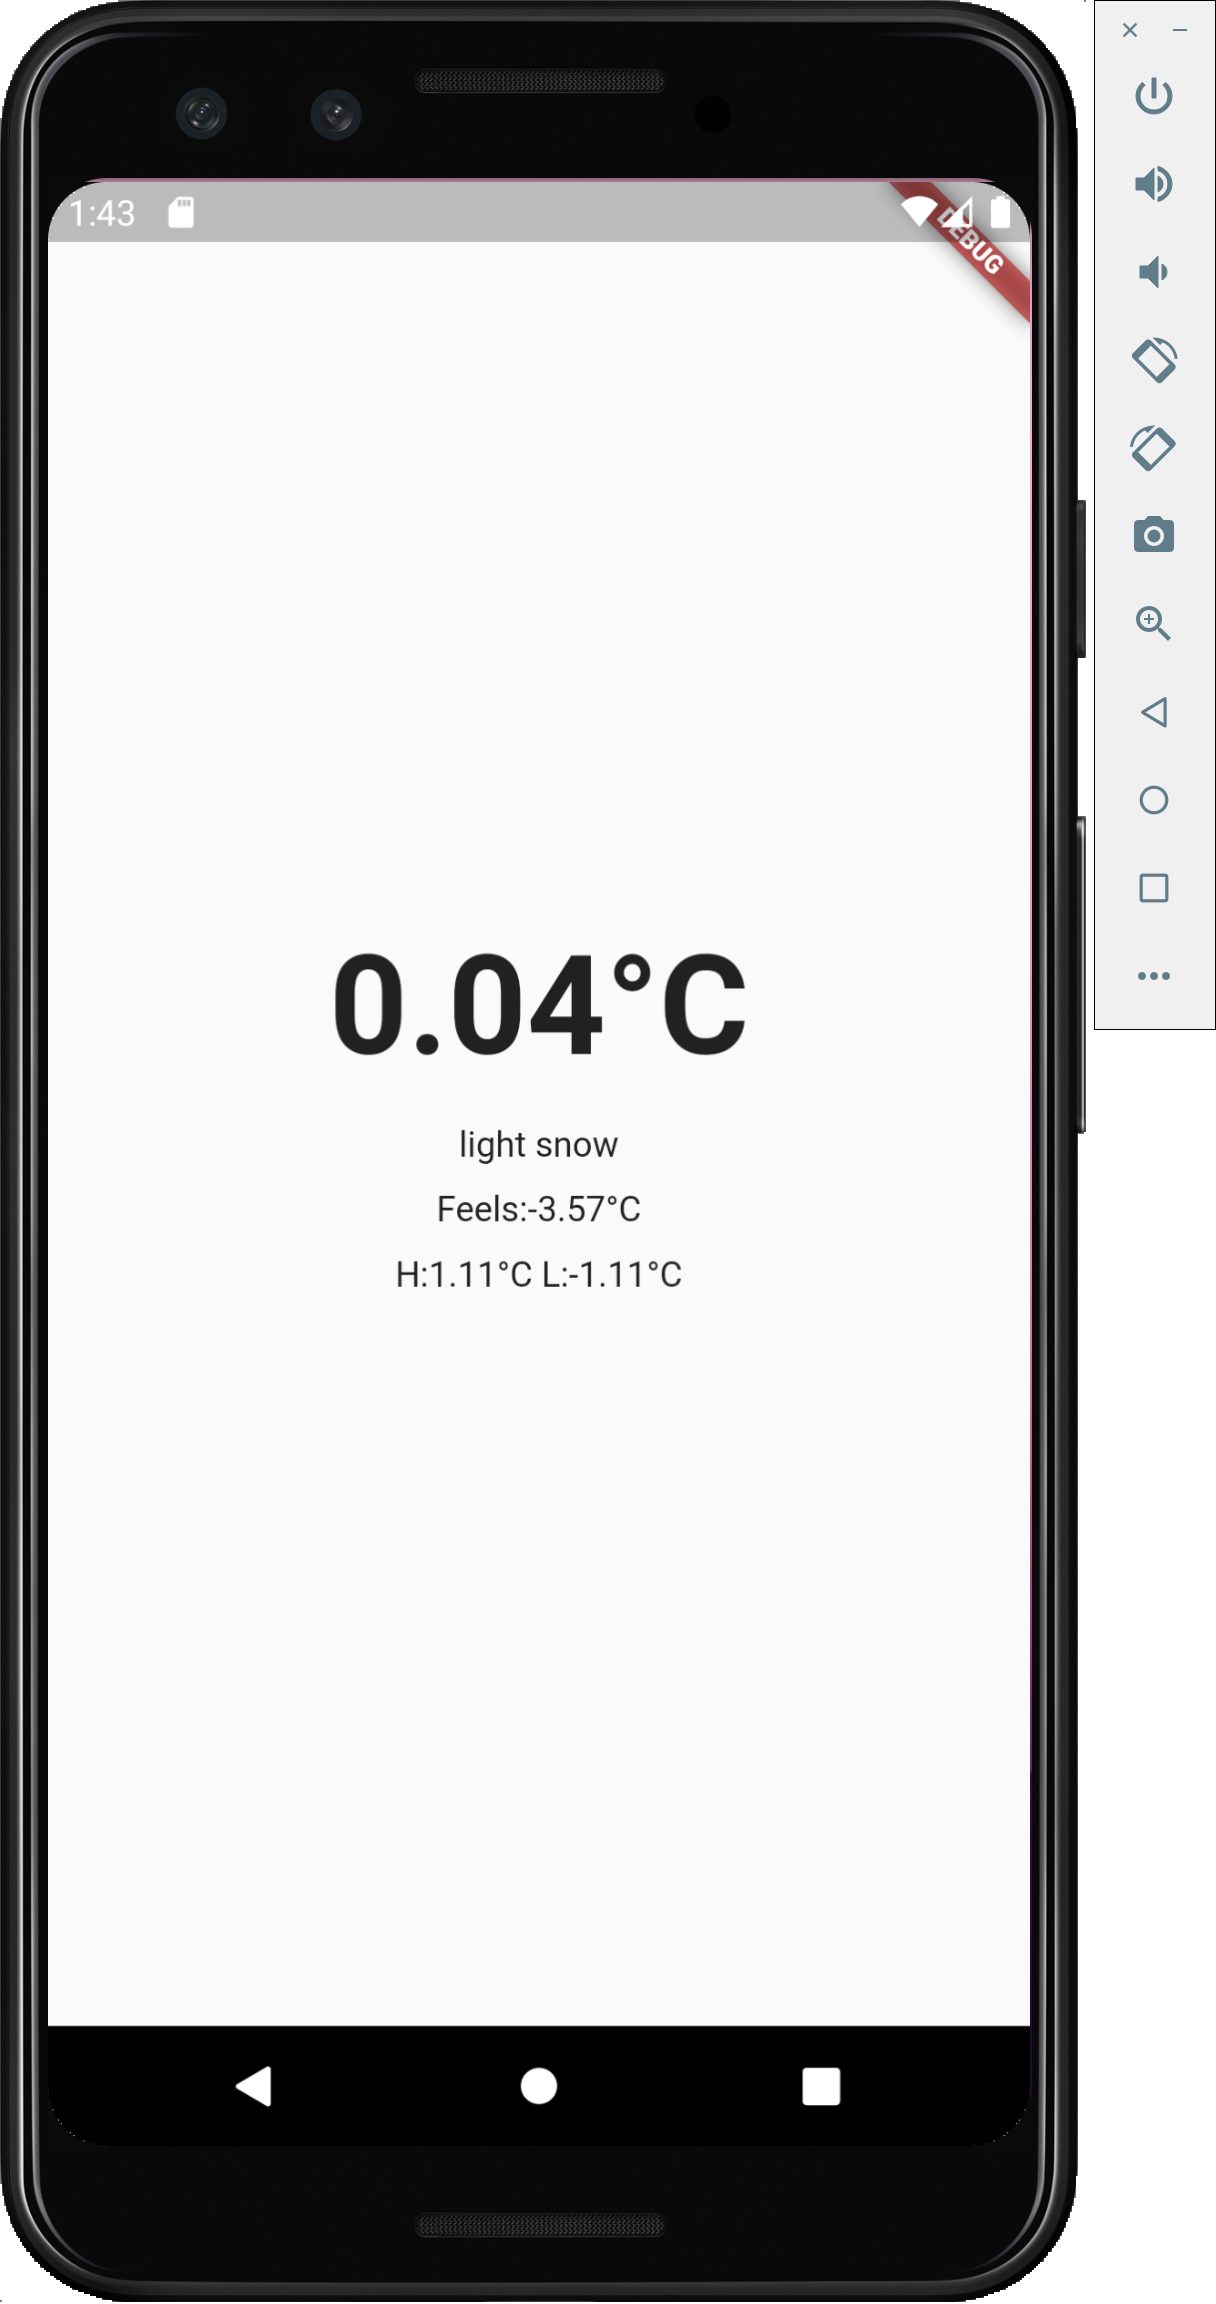
Let’s first add some text attributes to the main weather label
Text("${_weather.temp}°C",
            textAlign: TextAlign.center,
            style: TextStyle(fontWeight: FontWeight.bold, fontSize: 55),),
Your app should now look like this:

Now, let’s add some spacing between the Text widgets. To do this we are going to wrap each of them inside a Container widget and add a margin attribute.
Container(
  margin: const EdgeInsets.all(10.0),
  child:
  Text("${_weather.temp}°C",
    textAlign: TextAlign.center,
    style: TextStyle(fontWeight: FontWeight.bold, fontSize: 55),
  )
),
Container(
  margin: const EdgeInsets.all(5.0),
  child: Text("${_weather.description}")
),
Container(
  margin: const EdgeInsets.all(5.0),
  child: Text("Feels:${_weather.feelsLike}°C")
),
Container(
  margin: const EdgeInsets.all(5.0),
  child: Text("H:${_weather.high}°C L:${_weather.low}°C")
),
We can bring the whole Column to be vertically centred by adding the mainAxisSize: MainAxisSize.min, attribute to the Column widget.
Your weatherBox method should now look like this:
Widget weatherBox(Weather _weather) {

  return Column(
    mainAxisSize: MainAxisSize.min,
    children: <Widget>[
      Container(
          margin: const EdgeInsets.all(10.0),
          child:
          Text("${_weather.temp}°C",
            textAlign: TextAlign.center,
            style: TextStyle(fontWeight: FontWeight.bold, fontSize: 55),
          )
        ),
        Container(
          margin: const EdgeInsets.all(5.0),
          child: Text("${_weather.description}")
        ),
        Container(
          margin: const EdgeInsets.all(5.0),
          child: Text("Feels:${_weather.feelsLike}°C")
        ),
        Container(
          margin: const EdgeInsets.all(5.0),
          child: Text("H:${_weather.high}°C L:${_weather.low}°C")
        ),
    ]

  );
}
Your app should now look like this:
Review
Your files should now look like this
main.dart
import 'package:flutter/material.dart';
import 'package:weather/currentWeather.dart';

void main() {
  runApp(MyApp());
}

class MyApp extends StatelessWidget {

  @override
  Widget build(BuildContext context) {
    return MaterialApp(
      title: 'Flutter Demo',
      theme: ThemeData(
        primarySwatch: Colors.blue,
        visualDensity: VisualDensity.adaptivePlatformDensity,
      ),
      home: CurrentWeatherPage(),
    );
  }
}
weather.dart
class Weather {
  final double temp;
  final double feelsLike;
  final double low;
  final double high;
  final String description;

  Weather({this.temp, this.feelsLike, this.low, this.high, this.description});

  factory Weather.fromJson(Map<String, dynamic> json) {
    return Weather(
      temp: json['main']['temp'].toDouble(),
      feelsLike: json['main']['feels_like'].toDouble(),
      low: json['main']['temp_min'].toDouble(),
      high: json['main']['temp_max'].toDouble(),
      description: json['weather'][0]['description'],
    );
  }
}
currentWeather.dart
import 'package:flutter/material.dart';
import 'package:weather/models/weather.dart';
import 'package:http/http.dart' as http;
import 'dart:convert';

class CurrentWeatherPage extends StatefulWidget {

  @override
  _CurrentWeatherPageState createState() => _CurrentWeatherPageState();
}

class _CurrentWeatherPageState extends State<CurrentWeatherPage> {
  Weather _weather;

  @override
  Widget build(BuildContext context) {
    return Scaffold(
      body: Center(
          child: FutureBuilder(
            builder: (context, snapshot) {
              if (snapshot != null) {
                this._weather = snapshot.data;
                if (this._weather == null) {
                  return Text("Error getting weather");
                } else {
                  return  weatherBox(_weather);
                }
              } else {
                return CircularProgressIndicator();
              }
            },
          future: getCurrentWeather(),
        ),
      )
    );
  }
}

Widget weatherBox(Weather _weather) {

  return Column(
    mainAxisSize: MainAxisSize.min,
    children: <Widget>[
      Container(
          margin: const EdgeInsets.all(10.0),
          child:
          Text("${_weather.temp}°C",
            textAlign: TextAlign.center,
            style: TextStyle(fontWeight: FontWeight.bold, fontSize: 55),
          )
        ),
        Container(
          margin: const EdgeInsets.all(5.0),
          child: Text("${_weather.description}")
        ),
        Container(
          margin: const EdgeInsets.all(5.0),
          child: Text("Feels:${_weather.feelsLike}°C")
        ),
        Container(
          margin: const EdgeInsets.all(5.0),
          child: Text("H:${_weather.high}°C L:${_weather.low}°C")
        ),
    ]

  );
}

Future getCurrentWeather() async {
  Weather weather;
  String city = "calgary";
  String apiKey = "YOUR_API_KEY";
  var url = "https://api.openweathermap.org/data/2.5/weather?q=$city&appid=$apiKey&units=metric";

  final response = await http.get(url);

  if (response.statusCode == 200) {
    weather = Weather.fromJson(jsonDecode(response.body));
  }

  return weather;
}
Complete!
Congrats! You have successfully built a Flutter weather app!